Tuesday, January 29, 2013

Micro Dairy...back in business! 

      So maybe you've heard, I hurt my back in October, so I've been very limited in what I can and can not do.  It was all I could do to just get through each day for a while...then as I began to heal, my thought wandered to milking and making delicious dairy products for my family.  I didn't expect to have to milk Bossie until later this spring, and hoped I would be all healed up by then.  But, as life sometimes does, it threw a curve ball. Poor Bossie lost her calf in early January.  So...before I wanted to...we began milking her daily so she wouldn't dry up, leaving us without a source for fresh raw milk this year.  My dear husband helps each evening, so I don't have to lift anything when we milk.  Bossie is giving us 1 gallon per milking, which is enough for us to have a 1/2 gallon of ice cream, 2 lbs or more of fresh mozzarella, a couple cups of Ricotta, some cottage cheese, a couple gallons of 2% or so milk for drinking, and a lb or more of Farmer's Cheddar in a weeks time. That is plenty of dairy for anyone!  Once Goldie, our Jersey heifer calf is fresh, next summer, we will be drowning in milk!


Monday, January 14, 2013

How to Make Homemade Noodles


2 Cups All Purpose Flour and 1 T salt, put in mixer with dough hook (if you don't have an awesome mixer with a dough hook, just put in a med or lg bowl.
In a measuring cup, add one egg, a couple tablespoons of oil, and enough water to bring it to 2/3 cup.  Slowly pour this into the flour as you mix, either with the hook or by hand.  Don't add all the liquid at once...just keep  mixing and adding until it's a nice workable, not too sticky, not to crumbly texture...like playdough. If you get it too sticky, just add more flour until it's right.

Divide the mixed and kneaded dough into 4 parts, roll each one to the about 1/4 thick, using flour on the counter and on top of the dough to keep it from sticking. With plenty of flour on top, then roll the noodle dough up into a roll, like a log, and cut the noodles into the width you want (like 1/2" or so). Unroll each noodle you cut and let it dry, either hanging on a dryer rack, or on a cookie sheet. (Make sure you toss flour on them or they will stick together...try to keep them from laying on top of each other too, they need air to dry)


Wednesday, October 17, 2012

Rhonda's Honey Nut Energy Bars

Rhonda's Honey Nut Energy Bars
 Because we love healthy energy bars, and because I happened to look at the ingredients on a box from the store...I decided we could do better using all natural ingredients.    Here is what I came up with.

Mix all in a bowl:
1 cup oats
1 cup Rice Crispie Cereal
1 cup chopped mixed nuts
2 T Choc chips if desired
1/4 cup peanut butter (natural)
1/4 cup raw honey (I added a bit more until the mix stuck together well)

Press into a loaf pan, which should be lined with foil to help lift out.  Bake for 30 min at 350. Let cool and cut into 8 pieces.  

265 cal. each, 15  G fat, 6 G Protein, 31 G Carbs   

Tuesday, October 9, 2012

Carmel Apple Pizza

Caramel Apple Pizza

We love pizza...even for dessert!

Basic French Bread dough

Canned apple pie filling (I use my own homemade filling, but you can buy canned filling)
Butter and Brown Sugar and chopped nuts on top

Bake at 350 deg. until golden and bubbly, top with caramel apple topping and nuts.  Serve with vanilla ice cream for an awesome treat!

Monday, October 8, 2012

Honey Mustard Turkey with Roasted Potatoes 
 This recipe originally called for Chicken thighs, but all I had 2 lovely large thighs in the freezer from a tom turkey I grew last summer.  Since harvesting our honey I was looking for some good savory recipes to use it in and ran across the chicken version online.  I tweaked it a little....

   1/2 cup brown mustard
   1/3 cup honey
    2 T olive oil
   a couple fresh sprigs of rosemary
    6 or so nice potatoes, scrubbed and cut into large pieces

Mix the mustard, honey and oil. Place thighs skin side up in cast iron pan, coat tops with mixture, arrange potatoes around the meat and stick rosemary between and on top meat.. Put into preheated oven 400deg. on roast setting if possible, cover with foil for 1 hr, removed foil, brush the drippings all over meat and potatoes, continue cooking for 30 to 45 more minutes until brown on top and juices flow when pierced.  Drizzle the sauce in the pan on the meat and potatoes when serving.  I also recommend buttermilk/lard biscuits with butter and honey.  Delicious!

Honey...how sweet it is!


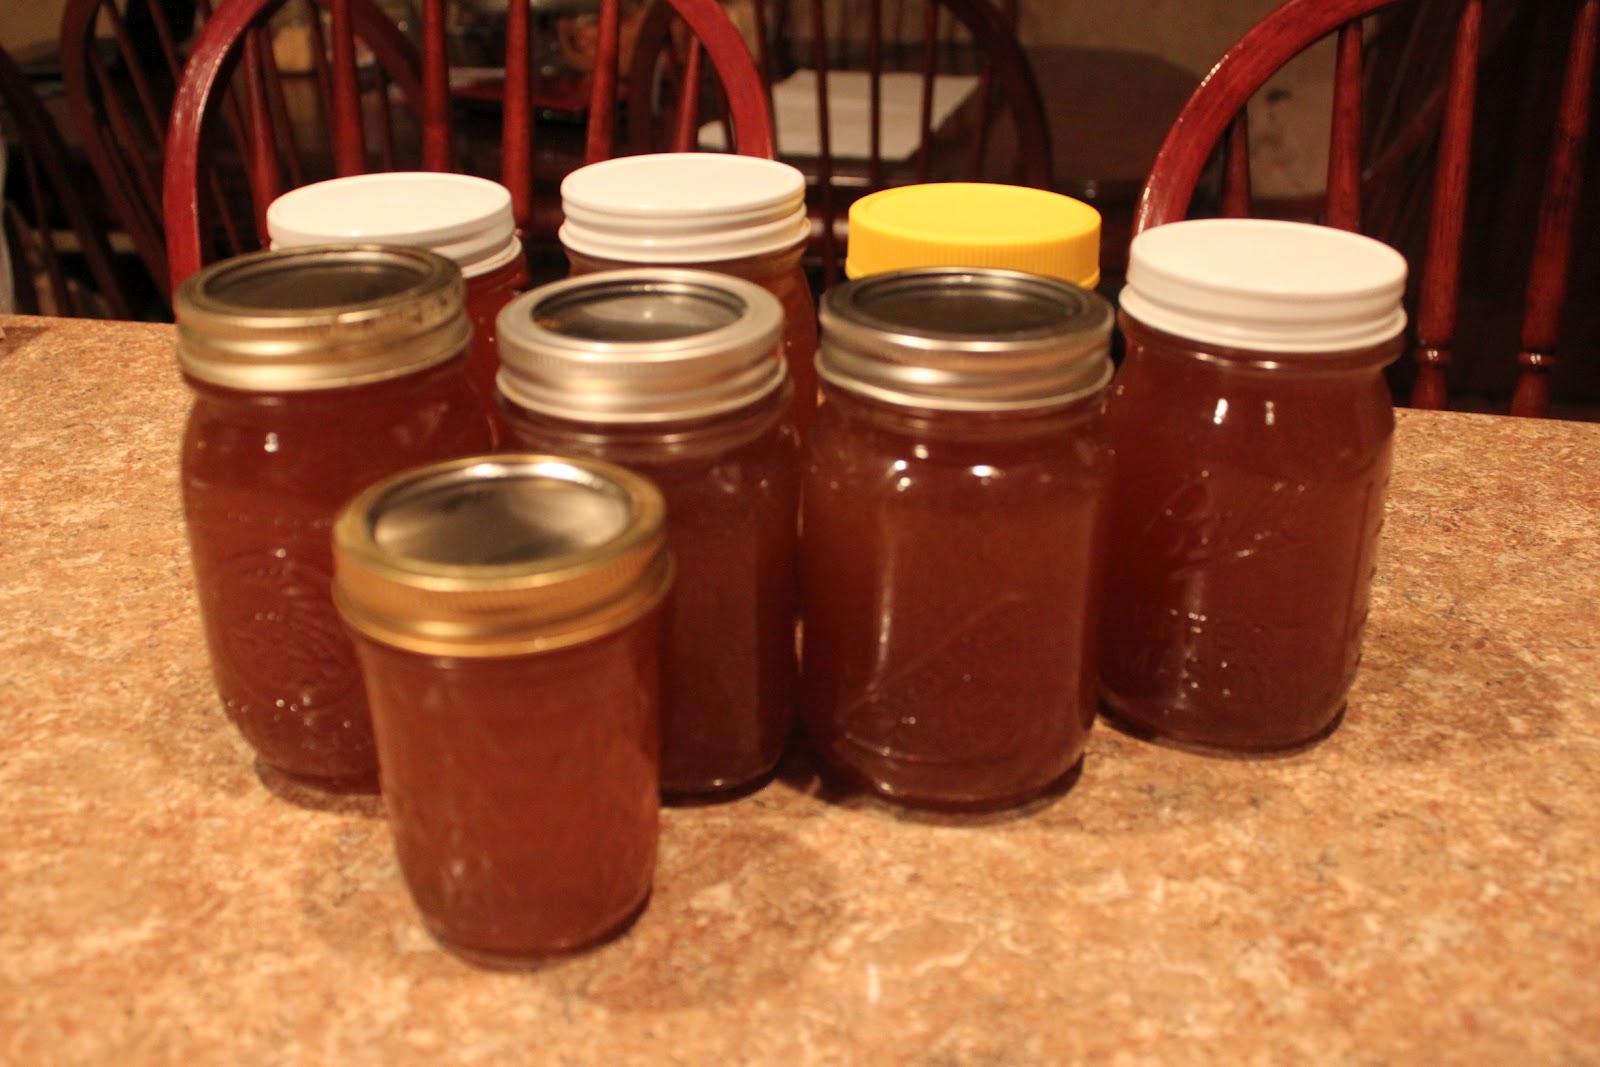
 I was so hesitant to take any honey this fall...simply because the swarm was installed in early July. Most hives are started in early spring, to give the bees time to build comb, increase their numbers and store honey for winter.  But...after opening it up and inspecting it I found that the whole top box was full of honey, pollen and some brood cells...and the bottom box was starting to build comb and fill with brood and honey around the edges.  I made the call...I took 3 frames of capped honey off the top hive box.  Leaving them 7 full frames and some in the bottom.  I guess if they need supplemented before spring, I will make some sugar cakes and slip in the box.  

 I was able to harvest 9 pints of glorious, sweet, sticky honey, and then rendered the capping's and comb wax to get a nice little 3 oz cake of wax for candles, soaps, balms...whatever.

 I plan on sharing a little with family...and keeping the rest to hold us over until the spring nectar flow.  In addition to the gift of honey...we saw a huge increase in our garden yield.  The bees worked hard all summer pollinating the tomato, cukes, berries, corn, beans and everything else.  We had 11 watermelons on 2 plants!  We were covered up with tomatoes and corn...and the biggest red peppers I have EVER seen.  God sure made a wonderful little helper for mankind when he made these honeybees.  Love having them here...and looking forward to another growing season with them doing their thing!

Friday, August 24, 2012

Handy Dandy Milking Stanchion...for short cows, who may or may not kick 

After we sold off Bossie's calf, she became nasty toward me in the milk stand. She would kick every chance she got, and as fast as I try to be...she clipped my knee good.  Then if she really wanted to take me down, she would go sideways and push me into the corner and kick at me.  I'm not one to back down from a fight...and I'd like to think I can outsmart a dumb cow (she's really not dumb and that's the problem!) .  I didn't have it on her in the photo, but I tethered a strap to the wall and ran it to her ankle she was kicking with and snapped it around it. (That proved dangerous too..so Ash held her tail up while I snapped it on) . I went to Lowes and got a 10 ft. 2x4 to run diagonally from the stanchion...but I didn't have anything to fasten it to...then I remembered an old shipping pallet base.  It worked like it was made for it.  I do need to push her out from the wall a little so I don't have to reach so far to hook up the milker.  I don't know if it will break her of kicking...or if she will eventually calm down and forgive me for selling her baby.  BUT, if she doesn't behave, I will get rid of her.  I want a cow that I can teach my kids to milk...and one I can relax and enjoy milking...and dodging hooves ain't relaxing any way you look at it! 


Update: Oct 8, 2012   Bossie has indeed calmed down as much as she probably ever will.  No kicking on the stand, although I don't want to trust her, so I have fitted her right back ankle with a heavy duty nylon dog collar with a ring to clip her leg tether to. That works so well, as it is permanent, and all I have to do is quickly snap the strap clip to it and she can't kick if she wanted to. I just have to remember to UNHOOK if before excusing her from the stanchion. (did that once..but she remained calm until I unclasped her).  We moved the 2x4 guard over toward her so she doesn't have as much wiggle room. It's working great.